
Return to the Blog Page
Simple way to trace a profile of Cornice
Helping you
Cornice match-up Service
Into to help you understand the history. Matching Cornice in older type properties, is normally impossible mainly due to it being Ran in-situ, normally when the property was first built, we can help you get a template made up so it can be used to match up, regardless of who you use for doing the work, as we have done many hundreds of these for many years, we can advise from most photos sent.
First, some background to help you understand the main reason why you cannot find the match anywhere or online, this is due to the then tradesmen that worked on any number of rooms and any number of houses at one session, they simply cut a shape from sheet metal attached it to to a wooden right angle with tacks, that tool was called there “Horse” still is today and they run a number of Cornices then either disposed of it or throw it in one of the houses attic.
So if you wish to check if yours was originally ran in situ! there are some tell-tale signs which show this, the main ones are: the Cornice feels pretty solid if you knock or tap it, its not as hollow sounding as a modern fibrous one, scratch through the top white surface 1/8 to 1/4″ it will have a more coarse base and be slightly grey or darker in colour generally and from normally locally sourced materials, you can also normally find remnants of wooden laths imprinted within the Ceiling part of the Cornice.
Craftsman were able to create the shapes which run up to or past the Ceiling line, which the more modern materials like Plasterboard’s don,t really allow (however, there are work around,s) they Ran the Cornice first by placing wooden battens or guides around the room prior to Plastering the walls & ceilings, some had favourite shapes what would be in-keeping with that period house or used a styles-books as references, they just cut the shapes freehand from metal, fastened to a wooden right angled brace “Horse” then forced a core bulk plaster into it running in situ the top coat was from lime putty, each corner internal & external was made good by hand and and still this way if its Ran on site by using a Joint rule, which is just the same as opposite side of a saw (without the teeth side) , they then just disposed of the tooling (Running Horse).
Now, How to reproduce that profile in order to have a new matching Cornice, lets do it with Pictures.
This is a tool we love to use. Below
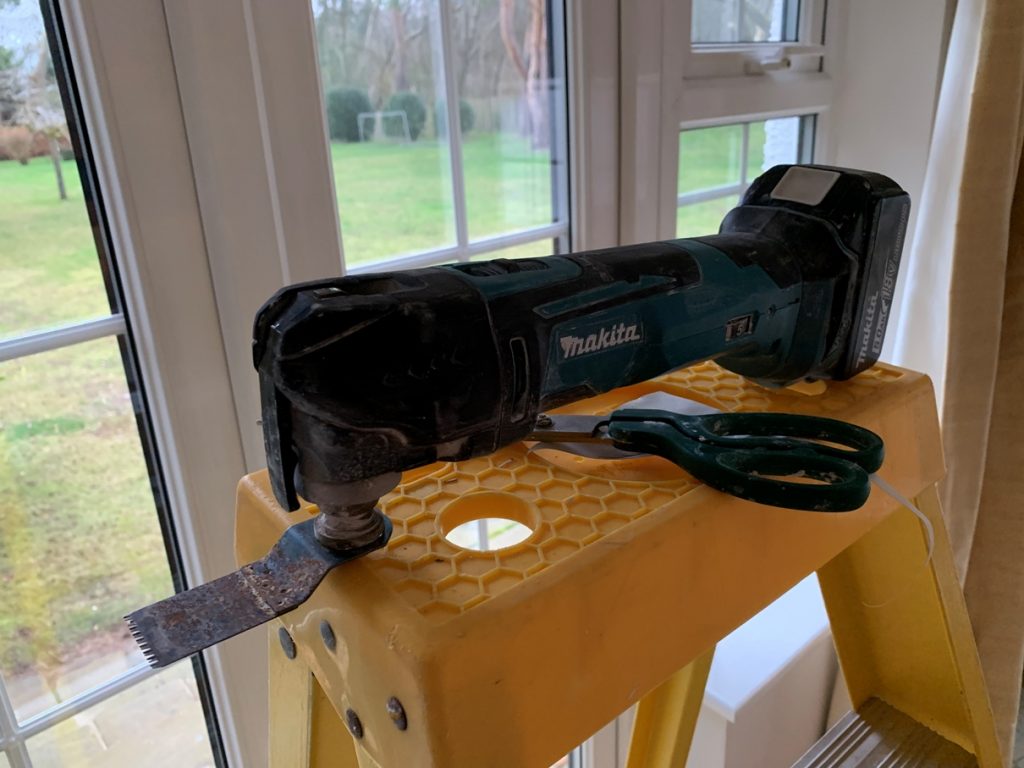
- Wear a Face Mask, use Eye protection & Gloves, as You need to cut into, not throughout the whole Cornice just the surface, we use Multi tools as above, or you can use a Saw or grinder (but it can get Dusty) sometimes just a utility knife.
Next
2. You need to Pencil a simple side profile line onto paper following all contours of the Cornice (example below shows a plain cove) keep the paper sat touching on the ceiling and the wall line as below (very important), this is all you need to do, if you supply this, you can cut out the need of using a Specialist company being called out at this stage which will save you money, as distance can be a factor, after you have done this, it can be posted off to any number of Companies for a quote! (so do a copy)
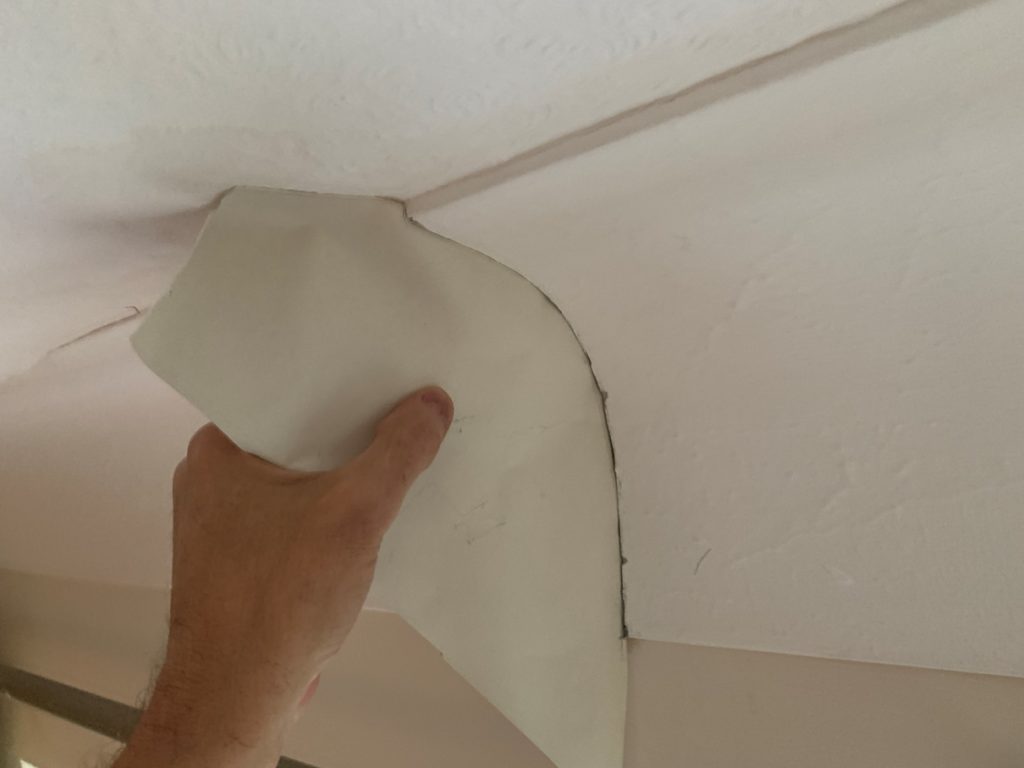
So, think about Choosing an area in the room where to make a cut, cut the vertical line with your preferred tool of about 3/4″ deep (no need to cut too DEEP or all the way through the Cornice) trim the paper to fit in the coving, the paper used can be anything from A4 paper up to Cardboard but must touch the wall and ceiling (as photo above shows) so chop away the paper until it fits, the corner or parts beyond cove is not needed at all.
After carefully tracing it, that is it, you have done it. You will end up with something like this in the Photo below.
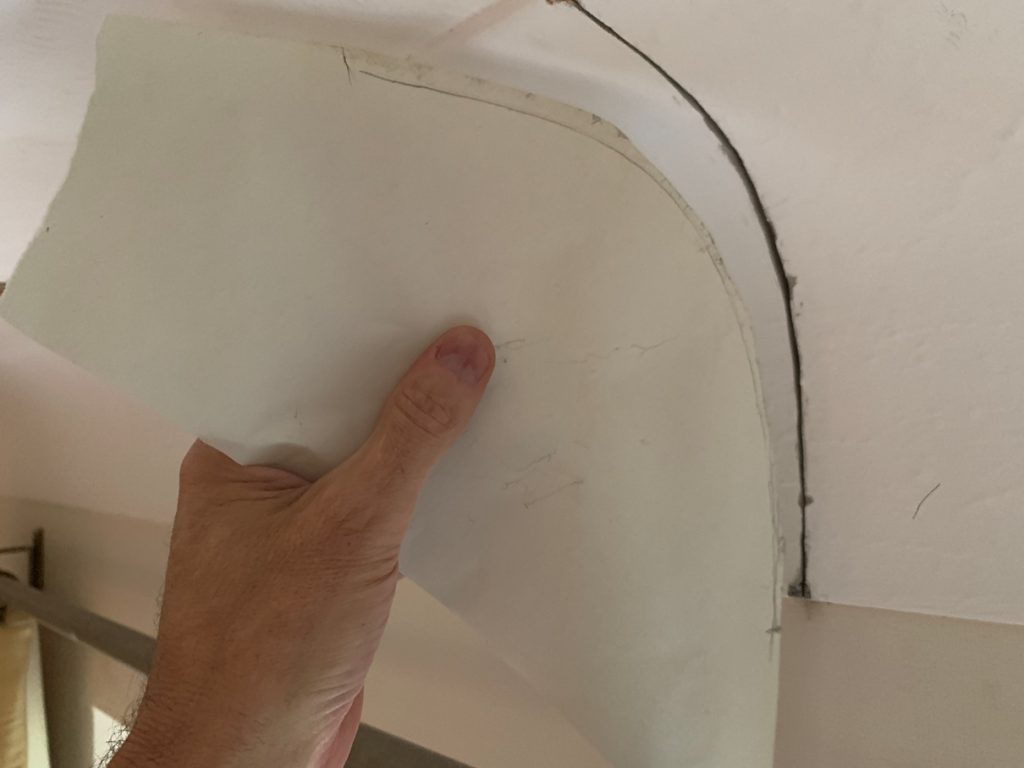
You will be left with a tracing which also has 2 flat areas representing: both the ceiling and wall (needed)
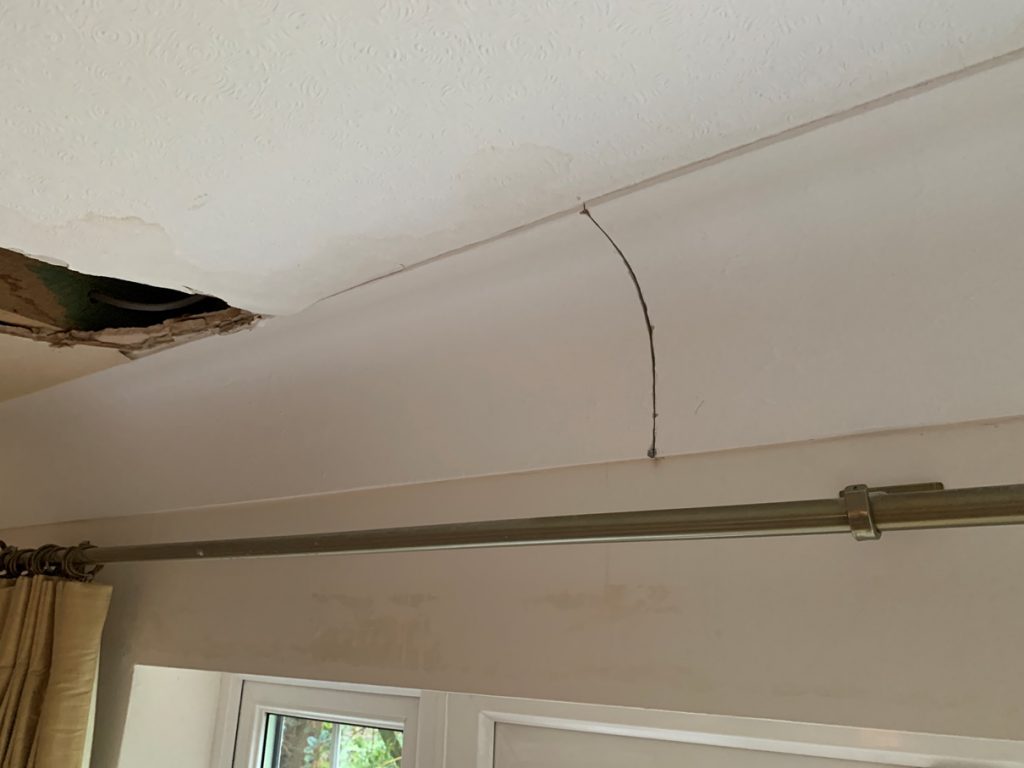
So because you didn’t cut a deep a groove in your Cornice, its easily to repair using Polyfiller or other brand, then maybe a second coat before you rub or sand down using water and Wet & Dry sandpaper: grades: 120s or 180s and sponge down.
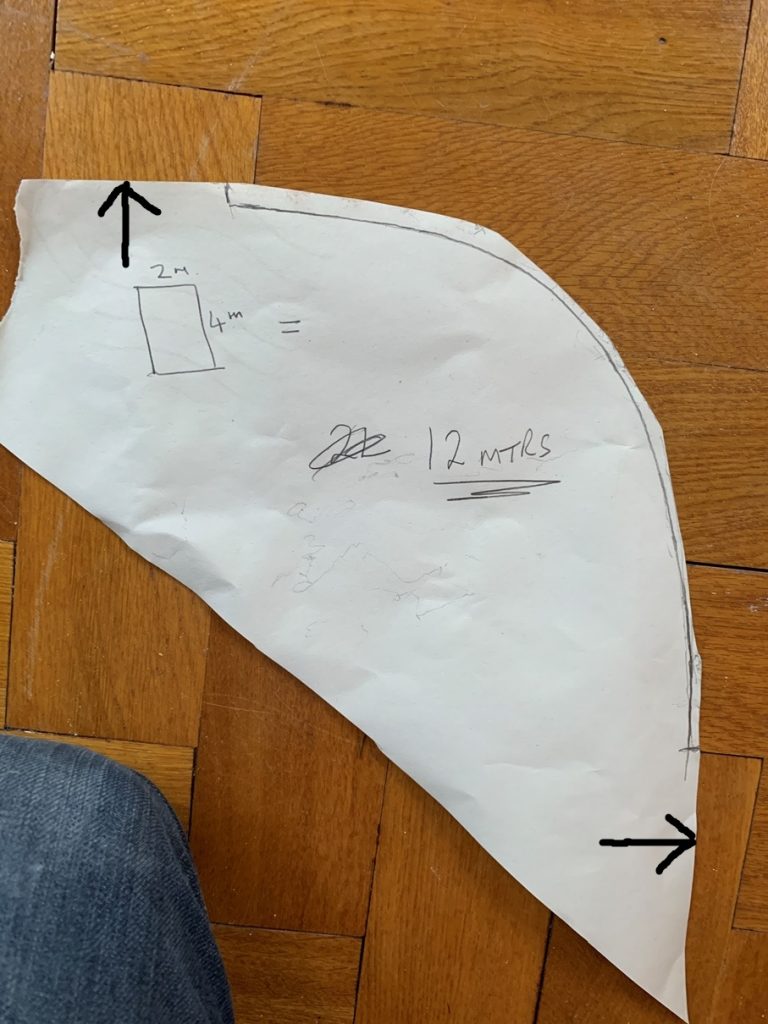
Finally got there, don,t forget the paper needs to be touching the edges: wall and ceiling like the ARROWS in above photo, so you are left with a pencil line drawing of a shape, you now have your template, job done
Send us a photo using our Cornice match-up Service
After sending photos, if you wish to send the template on to us, please wright your contact details on that same paper with the amount needed in meters or feet and send it to: UKPlaster. Vulcan Works, Dixon Street, Horwich. BL6 7PH Our Tel Number: 01204 693 900
- On receiving the outline of your Profile, we confirm the price in full with no surprises within 24 hours, if the price is okay, we then Cut the shape from Tin and fasten it to a wooden brace: Running Horse If a small amount of Cornice is needed, let’s say 5m or less, we can Run this direct on our benches.
2. If a larger amount is required, we do a similar procedure: only we cut the reverse of the pattern and run that as a length, which then allows us the use of pouring onto the pattern to cast a number of sections from it to make the amounts needed.
3. The last decision is to arrange a fitter
We fit mostly for Insurance Companies due to costs in labour which sometimes cannot be realised by individuals and direct paying customers.
Notes

Send to..
UKPlaster
Vulcan Works. Dixon Street, Horwich. BL6 7PH
Our email address: sales@ukplaster.com